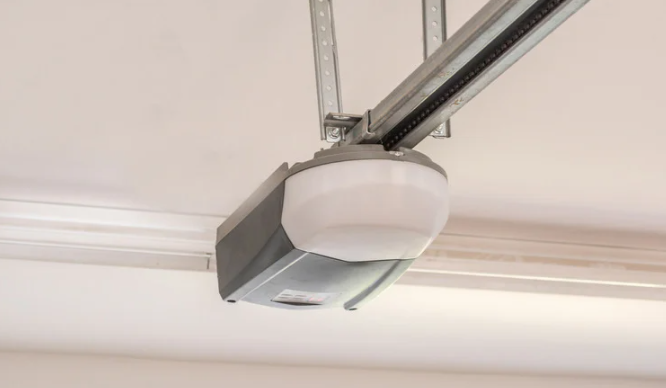
When a garage door opener stops closing fully or begins making strange noises, it often signals the need for adjustment. But how do you adjust a garage door opener to help maintain quiet, smooth, and safe performance? This 2025 expert guide provides clear steps to fine-tune settings, prevent wear, and extend the life of your system.
Issues like loose chains, slow response, or incorrect travel limits can cause frustrating disruptions. Proper adjustment ensures reliable function and reduces the risk of damage. With this detailed guide, you will restore efficient operation and avoid unnecessary service calls. Begin with the basics and follow expert tips to keep your garage door opener working its best.
Why You Might Need to Adjust Your Garage Door Opener
It likely needs adjusting when your garage door opens halfway or shuts too hard. Minor problems like misalignment or bad travel settings can cause this. Fixing them early protects your opener and helps everything run smoother every day.
The opener settings may be off if the door jerks, stalls, or makes noise. Daily use, weather, or vibrations can shift things. Adjusting the travel distance, force, or sensors brings back quiet, steady door movement.
Misaligned tracks, blocked safety sensors, or poor closing are common signs. Even minor setting issues can affect performance. Tuning your opener helps it last longer and function more effectively.
Safety First – What to Do Before You Start Adjusting the Garage Door Opener
Staying safe should always be your top priority when working on any part of your garage door opener system. Follow these easy steps to protect yourself and prevent damage during adjustment.
1. Cut the Power
Unplug the garage door opener or switch off the breaker that controls it. This keeps the motor from turning on while you’re working.
2. Gather These Tools
- A flathead screwdriver or socket wrench.
- A sturdy stepladder.
- Your garage door opener manual.
- Safety gloves and goggles.
3. Check the Model Number
Look for the model number on your garage door opener. Each brand has its setup for adjusting force or travel limits, so knowing your model helps you make the right moves.
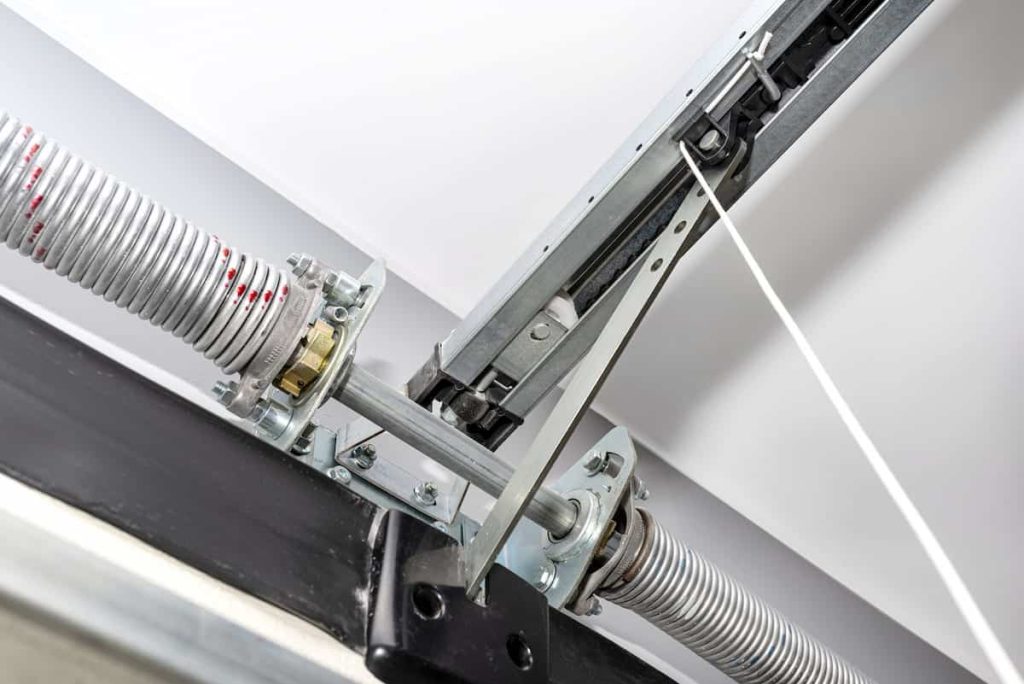
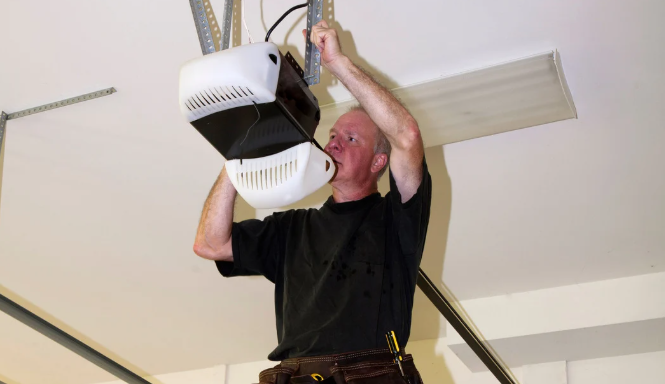
Understanding the Adjustment Mechanisms
Garage door openers have several built-in mechanisms that control movement, pressure, and safety. Knowing what each does will make adjustments more accurate and effective.
Force Adjustment Screws
These screws control the amount of power the opener uses to lift or lower the garage door without stopping or straining the motor.
Travel Limit Dials
Travel limit dials set the point where the garage door should stop when opening or closing, preventing it from going too far.
Safety Sensor Alignment
Safety sensors sit near the floor and must face each other to detect anything blocking the garage door’s path, keeping operations safe.
Trolley and Chain/Belt Tension
Proper tension keeps the chain or belt tight, so the door moves evenly without jerking, slipping, or straining the opener.
Step-by-Step: How to Adjust a Garage Door Opener
If you’re wondering how to adjust a garage door opener, this simple step-by-step guide will help you fix common issues and keep your opener running safely and smoothly.
Step 1: Adjust the Travel Limits
Travel limits determine how far the door moves before stopping. If your door opens too high or doesn’t close completely, travel settings will likely be the cause.
- Look for two dials or screws marked “Up Limit” and “Down Limit.”
- Use a screwdriver to turn the Up Limit clockwise to raise the door or counterclockwise to lower it.
- Do the same for the Down Limit if the door doesn’t fully close.
Adjust in small increments, about a quarter turn at a time, and test the door after each tweak.
Step 2: Adjust the Force Settings
Force settings determine the amount of power applied to open or close the door. The force setting may be too low if the door reverses suddenly or doesn’t close fully.
- Locate the force adjustment screws, usually marked as “Up Force” and “Down Force.”
- To increase the force, turn the dial clockwise. To decrease, turn counterclockwise.
- Test with a 2×4 placed flat on the ground under the door. The opener should reverse on contact to pass the safety reversal test (required by OSHA).
Force adjustment ensures your garage door operates safely, especially during seasonal changes.
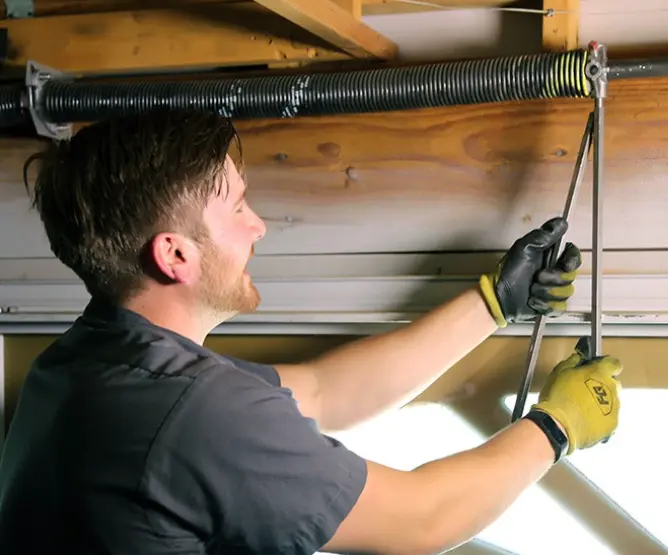
Step 3: Tighten the Chain or Belt (If Needed)
Loose chains or belts can create loud noises, delayed movement, or uneven door travel. Check the tension by pressing the chain halfway between the opener and the door.
- If it sags more than half an inch, tension needs adjustment.
- Use the tensioning bolt or nut located near the trolley.
- Tighten slowly while testing tension with your hand.
- Over-tightening can cause damage to gears or the rail system.
Call a professional if unsure, especially with belt drives or smart garage door openers.
Step 4: Align Safety Sensors
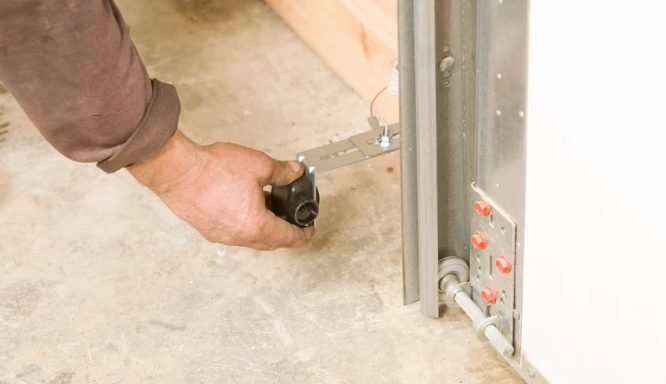
If your garage door won’t close and the lights on the sensors are blinking, the issue is likely misalignment or a dirty lens.
- Check that both sensors are facing each other.
- Ensure both sensors are stable, level with each other, and positioned approximately 6 inches above the ground.
- Use a clean cloth to wipe away dust or spider webs.
- The lights should remain solid (green or red), not flickering or off.
Sensors are crucial for preventing accidents. A misaligned sensor is one of the most common reasons garage doors stop mid-close.
How to Test the Garage Door Opener After Adjustment
Now that the adjustments are done, test the garage door opener to ensure it works smoothly, safely, and avoids future problems.
1. Use the Wall Button and Remote Control
Operate the opener using the wall-mounted button and remote control to ensure your garage door responds appropriately and follows all programmed settings.
2. Check for Smooth, Full Movement
Watch the door as it opens and closes. It should move smoothly without jerking, stalling, or stopping halfway through the operation.
3. Look for Sudden Stops or Hesitation
Any pauses or rough stops during the cycle may mean settings need fine-tuning to ensure safe and reliable garage door movement.
4. Test the Safety Reversal System
Place a soft object like a roll of paper towels under the closing door. It should reverse quickly after sensing contact for safety.
5. Run 2 to 3 Full Cycles
Open and close the garage door two or three times in a row. Watch for strange noises, slow movements, or signs that the opener struggles during operation.
Garage Door Opener Regular Maintenance Tips to Prevent Future Problems
Basic upkeep keeps your garage door opener working smoothly, helps avoid repairs, and keeps you safe.
1. Lubricate Metal Parts and Rollers Every 6 Months
Use silicone spray on hinges, springs, and rollers to prevent them from sticking. It helps reduce friction, allowing the door to open and close quietly and with less effort.
2. Replace Remote and Keypad Batteries Once a Year

Change batteries yearly to avoid weak signals or sudden failures. It keeps your remote and keypad working without issues.
3. Perform a Monthly Balance Test
Unplug the opener and lift the door halfway. If it stays in place, your door is properly balanced.
4. Test the Safety Reversal System
Put a 2×4 under the door. It should reverse quickly when touched, indicating that the safety sensors function correctly.
Regular checks make it easier to know how to adjust a garage door opener when something feels off.
Common Garage Door Opener Adjustment Mistakes to Avoid
It is just as important to avoid mistakes as to do it right when adjusting your garage door opener. Small errors can lead to damage or safety issues.
1. Over-tightening the Force Screws
Turning the force adjustment screws too tight may stop the door from reversing properly, creating a serious safety hazard for people and pets.
2. Skipping Power Disconnection
If you don’t unplug the garage door opener or flip the breaker, you risk getting shocked or starting the motor while adjusting.
3. Ignoring Grinding or Rattling Noises
Strange sounds like grinding or rattling often mean loose parts or misalignment that need attention before they cause bigger mechanical problems.
4. Not Using the Owner’s Manual
Each model has a different layout. Skipping the manual may lead to turning the wrong dial or screw and causing unwanted results.
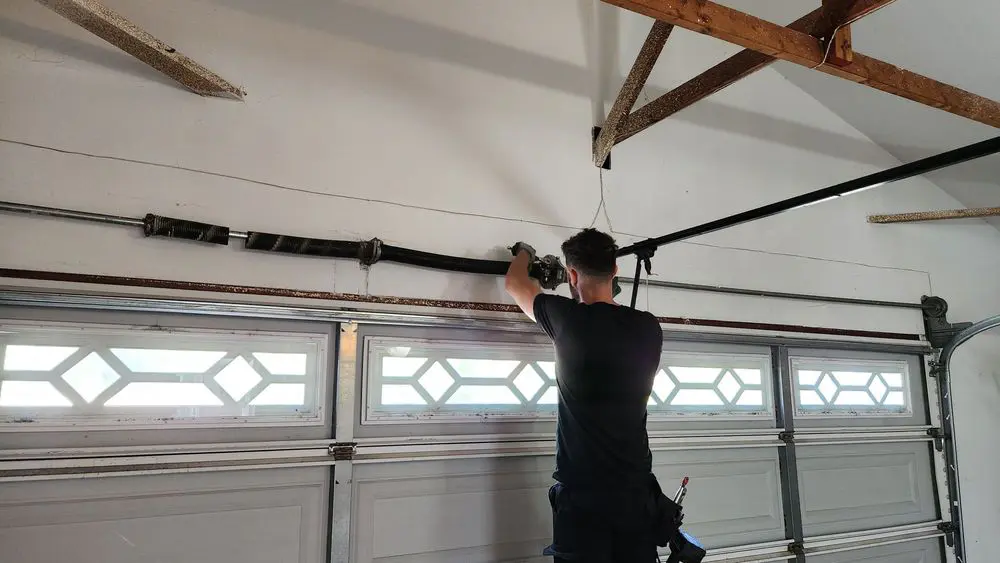
When to Call a Professional
If your garage door opener has a burning smell or the motor makes loud noises, it’s best to call a professional technician. Signs like broken springs, banging sounds, or issues with smart openers mean the problem may be too advanced for DIY fixes.
Learning how to adjust a garage door opener is helpful, but serious problems need expert garage door repair. A licensed technician can safely handle complex repairs while also protecting your garage door opener warranty.
Frequently Asked Questions
How do you adjust the force on a garage door opener?
To adjust the force, locate the up-force and down-force knobs on the garage door opener motor. Turn them clockwise to increase power or counterclockwise to reduce it for smoother movement.
What’s causing my garage door to stop before fully closing?
This usually means the down travel limit needs adjusting or the safety sensors are out of alignment. Start by turning the down limit dial slightly and test the door.
What causes grinding noises in my garage door opener?
Grinding sounds often come from a loose chain, worn gear, or debris in the track. If the noise continues, tighten or lubricate the parts and call a technician.
How do I align garage door sensors properly?
Ensure that both sensors are positioned directly facing each other and are mounted at the same height. The sensor lights should glow steadily to show they’re working right.
How regularly should I adjust my garage door opener?
You should check and adjust your opener every 6 to 12 months or when your garage door starts acting up. Regular checks help prevent bigger issues.
Conclusion
So, how do you adjust a garage door opener? With a few simple steps, you can fix common problems and help your door work like new again. Regular maintenance goes a long way in keeping your garage opener safe, smooth, and quiet.
Those signs shouldn’t be ignored if the door won’t close all the way, makes grinding sounds, or moves unevenly. Adjusting the travel limits, force settings, or safety sensors can solve it. However, it’s wise to let a professional look if things feel too complicated or unsafe.
That’s where Alliance Overhead Door comes in. We offer trusted, local garage door repair in Celina, TX, with quick service and friendly help. Whether your opener needs a quick tune-up or a complete repair, we’re here to ensure your garage works safely every time.
End Note
If you’re unsure how to adjust a garage door opener and things aren’t working correctly, we’re here to help. Alliance Overhead Door provides simple, safe, and reliable garage door solutions that give every homeowner peace of mind. Whether you need garage door opener repairs or full garage door replacements, our trained team will handle it carefully and skillfully.
Dealing with a broken spring or strange garage door sounds? We offer torsion spring replacement and quick emergency garage door repairs. You can also count on us for expert garage door installation and other trusted garage door services. We’re here to help keep your home safe and your garage door working smoothly, just like it did when it was new.
Want to see why homeowners trust us? Visit our About Us to see why families trust us, Our Work for real project results, and Reviews to hear from happy customers. Browse our blog posts for helpful tips, or connect with us on Instagram and Yelp for more updates. We proudly offer garage door repair in Celina, TX, and nearby areas listed on our service areas page. When you’re ready, Contact Us or book an appointment online to get started.
Alliance Overhead Door
2710 Wildwood Ln, Celina, TX 75009, United States
+19723704710